Every window film has a service life, and the end of it is not subtle. The rear window goes first, because it takes the most sun and carries the defroster grid. The film turns a bruised purple, small bubbles rise between the glass and the film, and the edges start to lift and curl. In Charlotte, where a parked car bakes through long, humid summers, cheap dyed film can reach that stage in just a few years. Quality film lasts far longer, but no film is permanent.
The purple color and the bubbles are two different failures happening at once. The purple is the dye breaking down under ultraviolet light. The bubbles are the adhesive letting go. Once both are underway, cleaning and care will not reverse them. The only real fix is removal, and removal is a job of its own rather than a quick peel in the driveway.
Why old film turns purple and bubbles
Dyed film gets its color from pigments suspended in the film layer. Ultraviolet light breaks those pigments down over time, and the dark gray or black shade shifts toward purple as the dye degrades unevenly. Metallic and ceramic films resist this much better because they block heat and light with particles rather than relying on dye alone, which is one reason they hold their color for the life of the car in many cases.
Bubbling is an adhesive problem. Heat cycles expand and contract the film and the glass at slightly different rates, and the glue line eventually releases in patches. Air and moisture collect in those patches and show as blisters, most often on the rear window where the sun load is highest. A single small bubble is an early warning. A rear window covered in them means the adhesive has failed across the whole panel.
The defroster problem
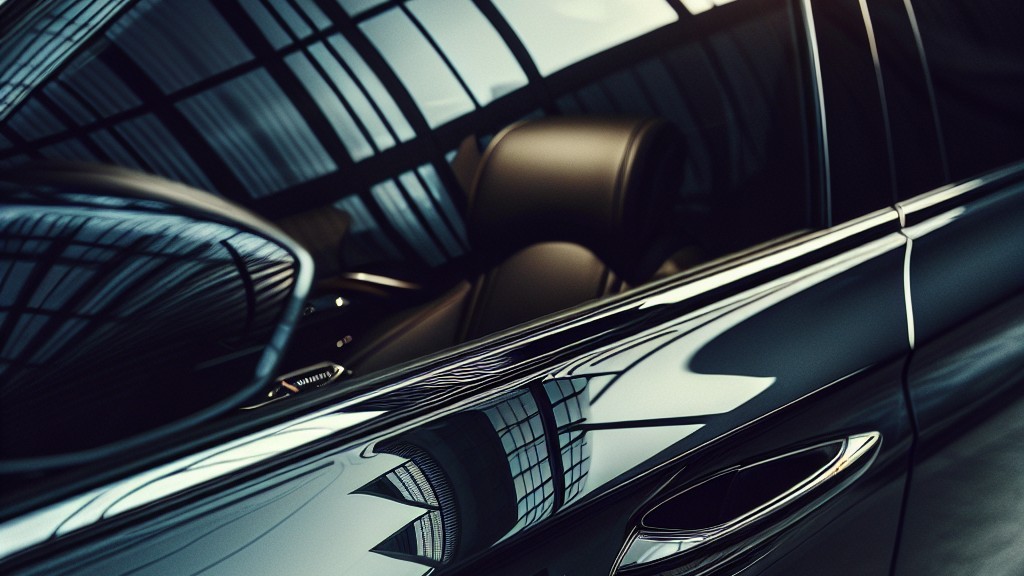
The rear window is where removal gets delicate. The defroster grid is a set of thin conductive lines printed onto the inside of the glass, and old adhesive bonds to those lines. Pulling hardened film straight off can lift sections of the grid with it, leaving dead bands that no longer clear fog. A defroster that stops working after a home removal attempt is a common and avoidable outcome.
Shops work around this with heat and patience. Steam softens the adhesive so the film releases in large sheets instead of shredding into strips. Where film has gone brittle, a plastic scraper and adhesive remover work the residue loose without gouging the glass or cutting the grid lines. The goal is glass that is clean enough for new film to bond evenly, with every defroster line still intact and working.
Your real options, by situation
The right choice depends on which windows have failed, whether the defroster still works, and whether you plan to retint. Removing film from side windows is more forgiving than the rear glass, and a car you are selling needs a different level of finish than a car you plan to keep for another decade. The table below lays out the usual paths.
| Situation | Best approach | Why |
|---|---|---|
| One side window bubbling, others fine | Remove and retint that window only | Failure is local; matching the remaining film keeps the job contained |
| Rear window purple and bubbled | Professional steam removal, then retint | Protects the defroster grid and clears failed adhesive fully |
| All windows faded, car being kept | Full removal and fresh film throughout | Even color and heat rejection; old and new film side by side rarely match |
| Selling the car soon | Remove failed film, retint optional | Clean clear glass shows better than purple bubbles; buyers read neglect into bad tint |
| Film peeling at edges only | Have edges assessed before deciding | Early edge lift sometimes means the rest of the adhesive is still sound |
What removal involves, in plain terms
A proper removal starts with softening. Heat or steam loosens the bond so the film comes away in sheets rather than confetti. Next the adhesive residue, which is the stubborn part, is worked off the glass with remover and non-metal scrapers. On the rear window this stage is slow by design, because the scraper has to travel with the defroster lines, never across them with pressure.
After the glass is clean it gets inspected under good light. Leftover adhesive shows as haze or streaks and will telegraph through new film as bumps and cloudy patches, so the surface has to be truly bare before anything new goes on. Only then does retinting start, on glass that is often in better shape for film than it has been in years.
When to replace instead of just remove
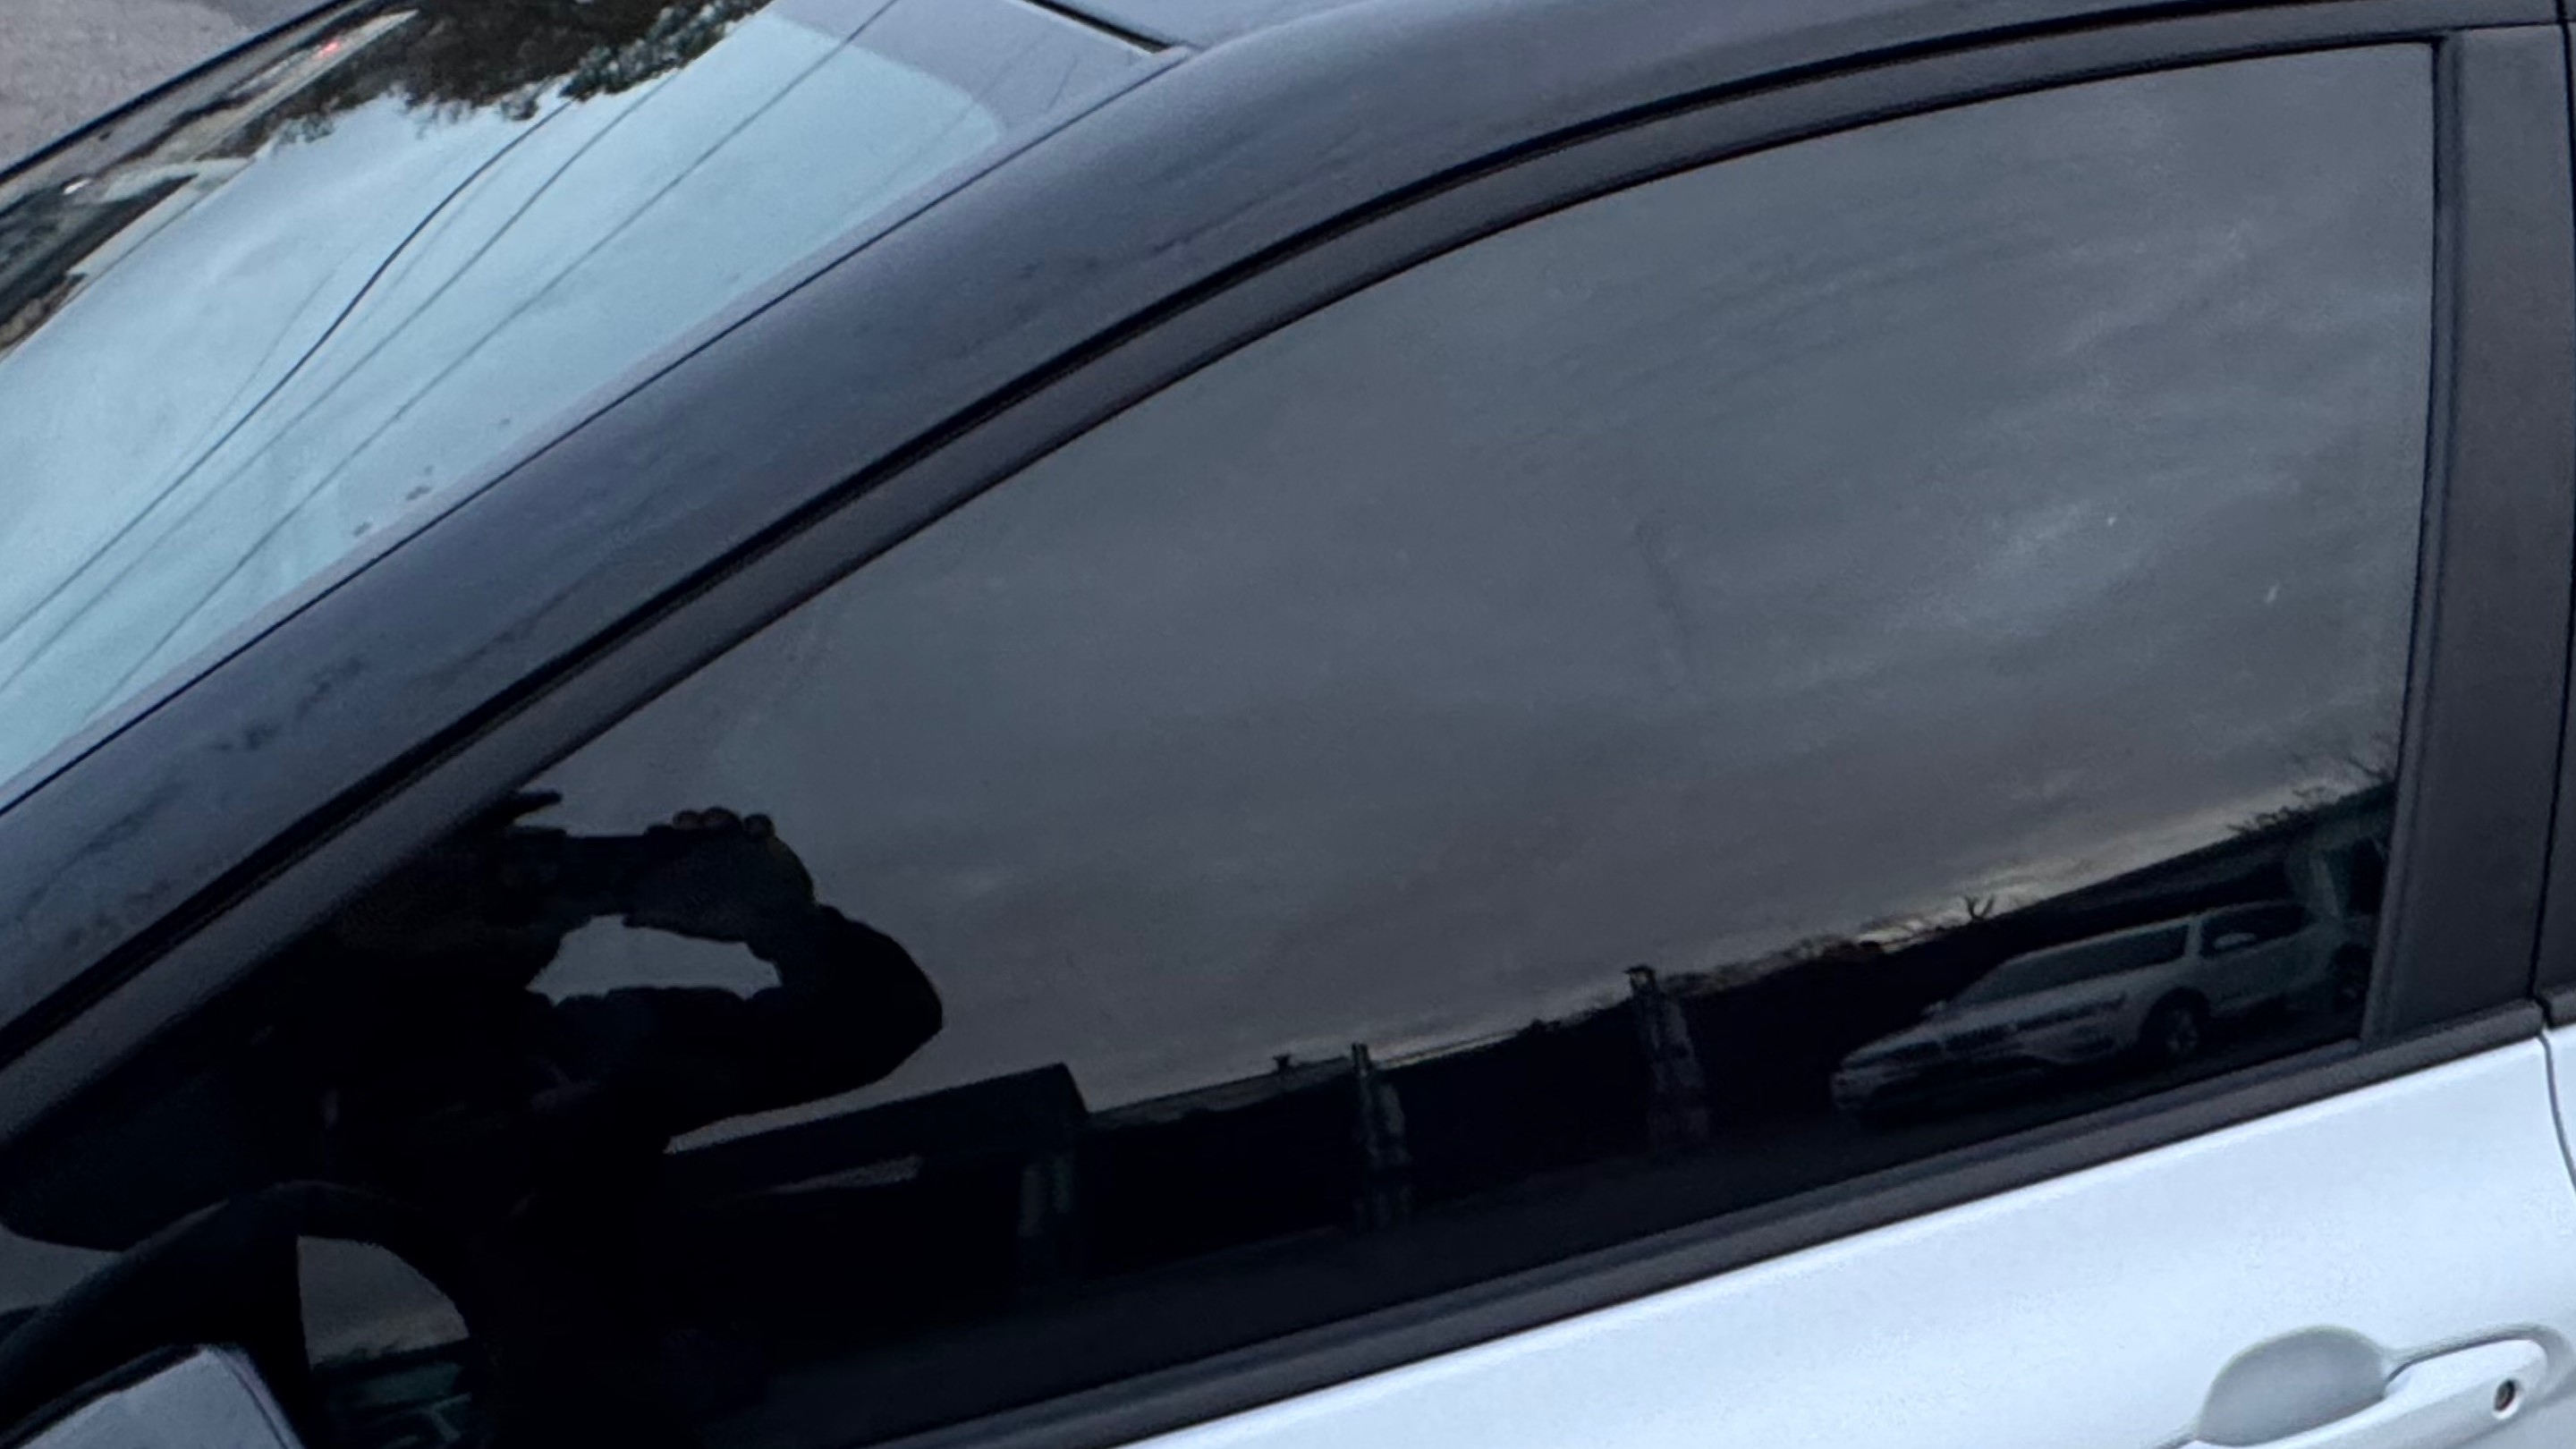
Bare glass is legal and clear, but it gives back everything the film was doing: heat rejection on summer afternoons, glare control, and privacy. In the Piedmont, a car that sits outside at work all day heats up fast from late spring through early fall. Most Charlotte drivers who strip failed film choose to retint in the same visit, stepping up to a film type that will not repeat the purple fade. 704Tint handles tint removal as a listed service, which matters because removal done badly costs more to fix than removal done carefully the first time.
Watch for the early signs and you can plan the job instead of reacting to it: a faint purple cast in strong light, one or two small bubbles on the rear glass, edges that catch a fingernail. At that stage the adhesive is still cooperative. Wait until the film is brittle and blistered across the whole window and the same job takes longer and puts the defroster at greater risk.
Common questions
Can I peel old tint off myself?
Side windows, sometimes, with heat and patience. The rear window is the risky one, because peeling can tear the defroster lines off the glass, and that damage is not easily repaired.
Does removal hurt the glass?
Done with steam, plastic tools, and adhesive remover, no. Metal razor blades and force are what scratch glass and cut defroster lines, which is why the rear window is left to careful methods.
Why did my tint turn purple but my friend's did not?
Film type is the usual reason. Dyed film fades toward purple as ultraviolet light breaks the dye down, while metallic and ceramic films hold their color far longer.
Photos in this guide are representative stock images.
← All guides from 704Tint← Back to 704Tint